As mobile phone manufacturing standards continue to rise, conducting efficient and high-precision inspections of components at every production stage is a crucial choice to effectively reduce the defect rate, improve product quality, and increase customer satisfaction.
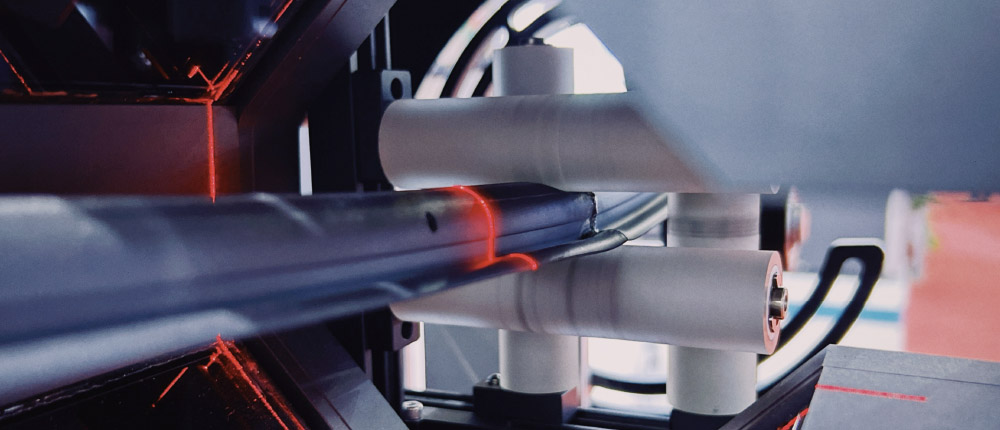
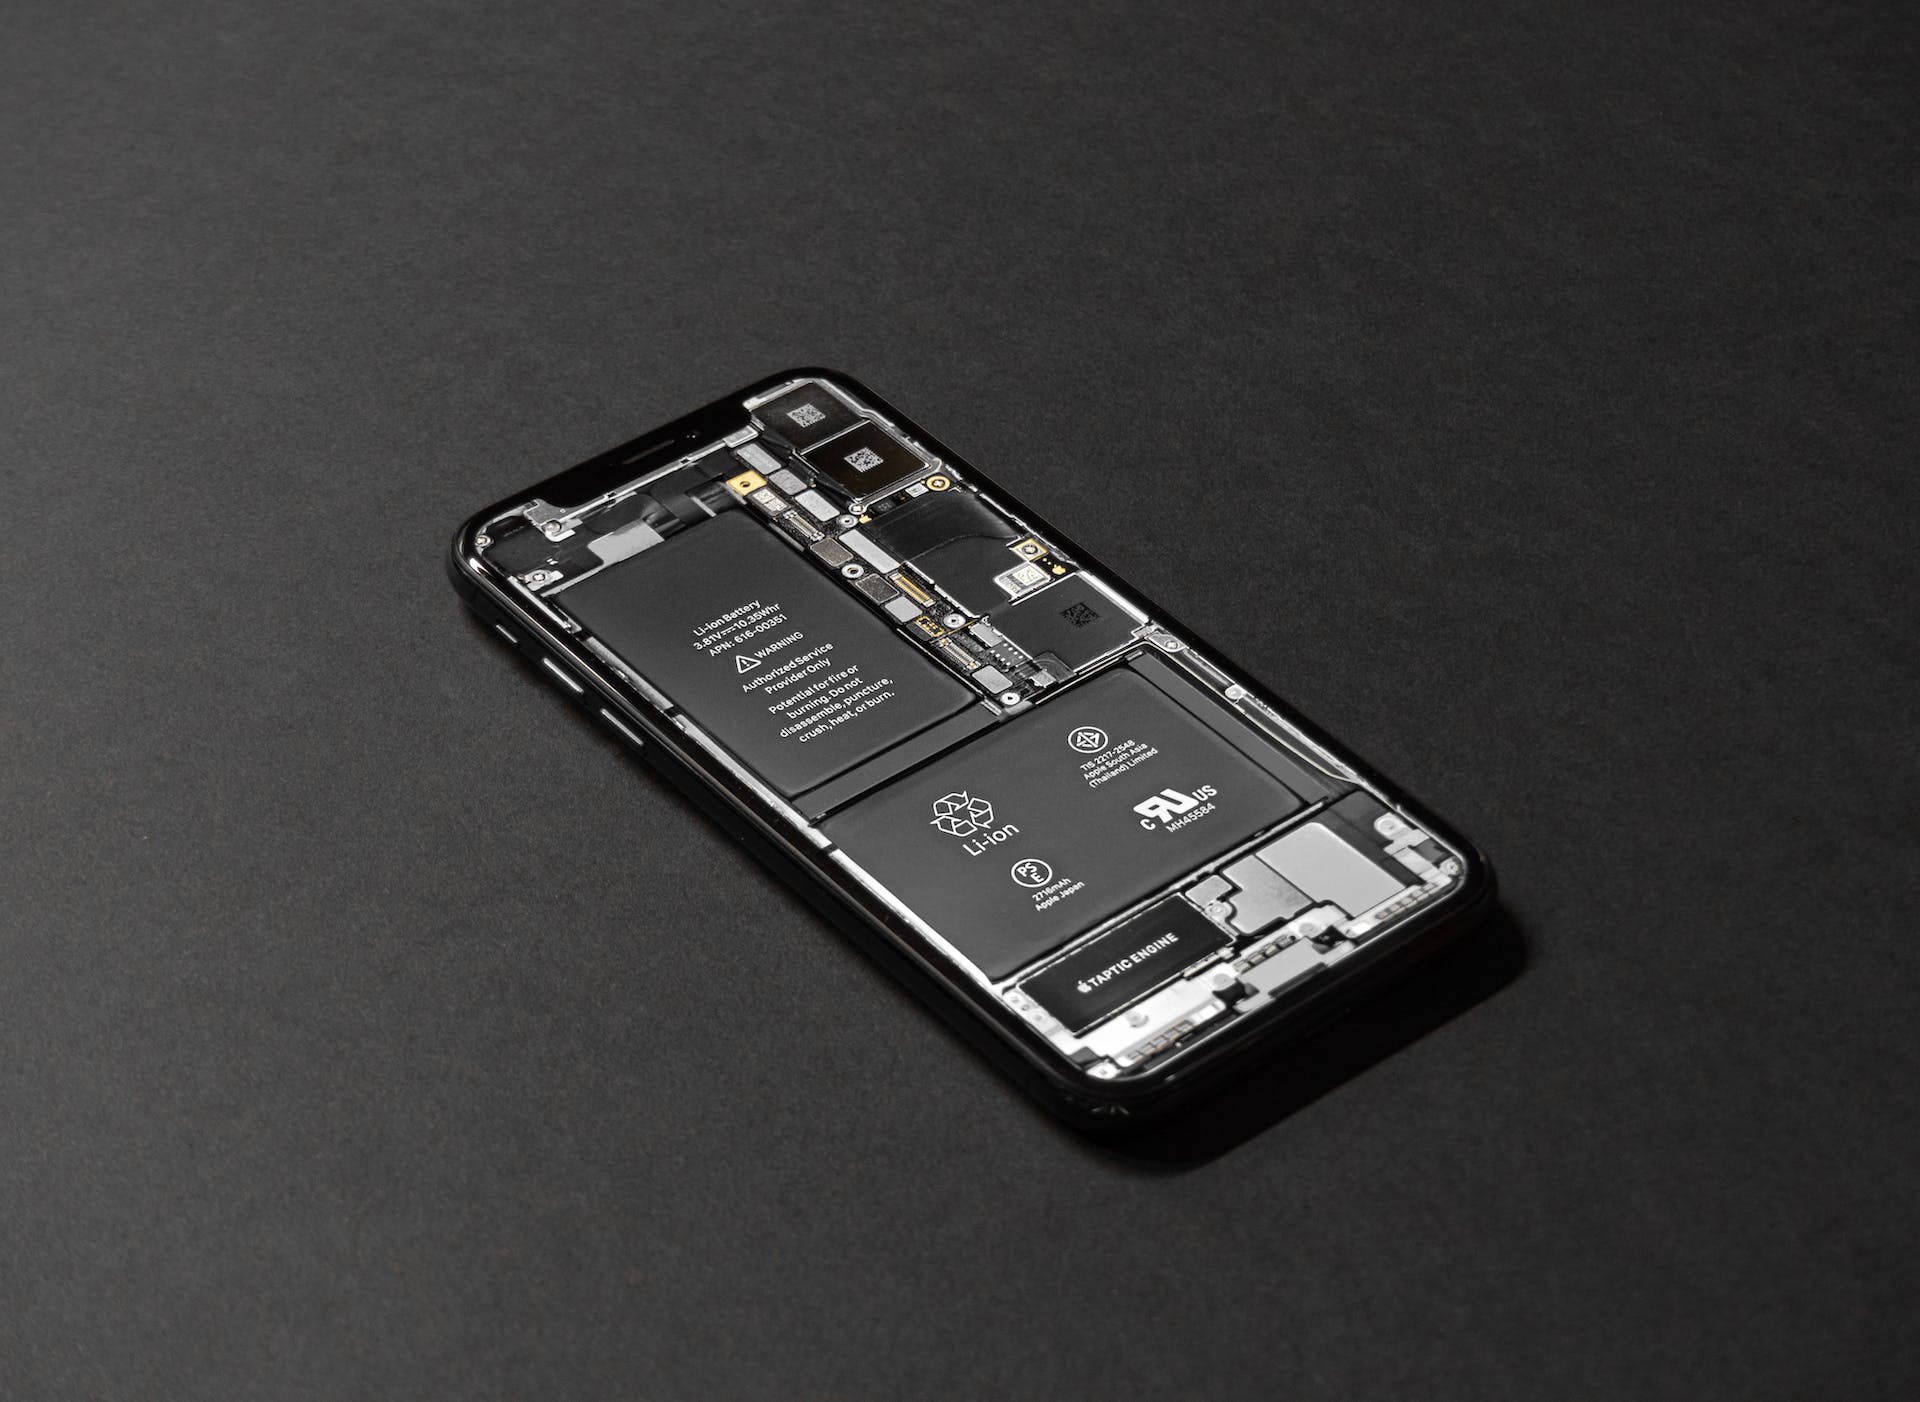
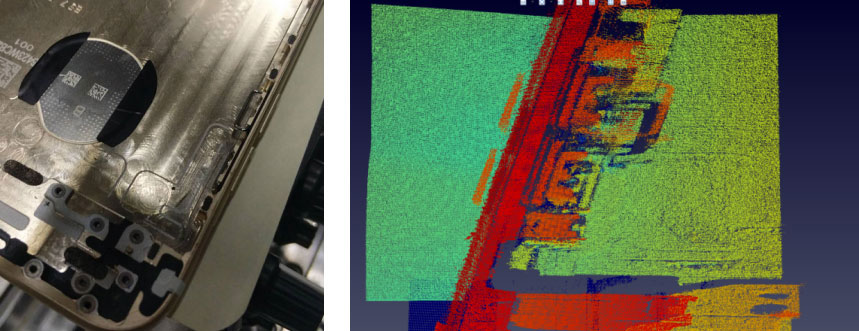
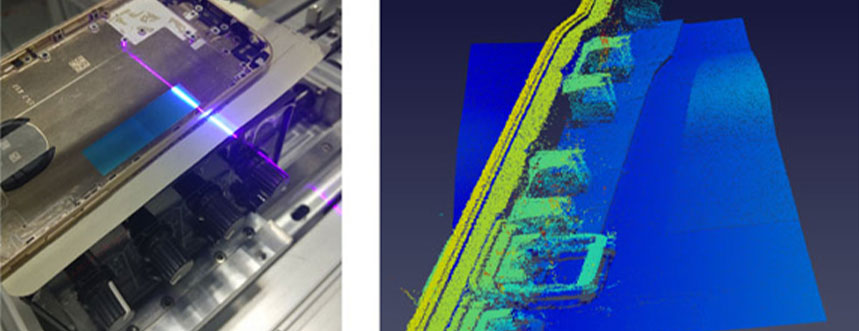
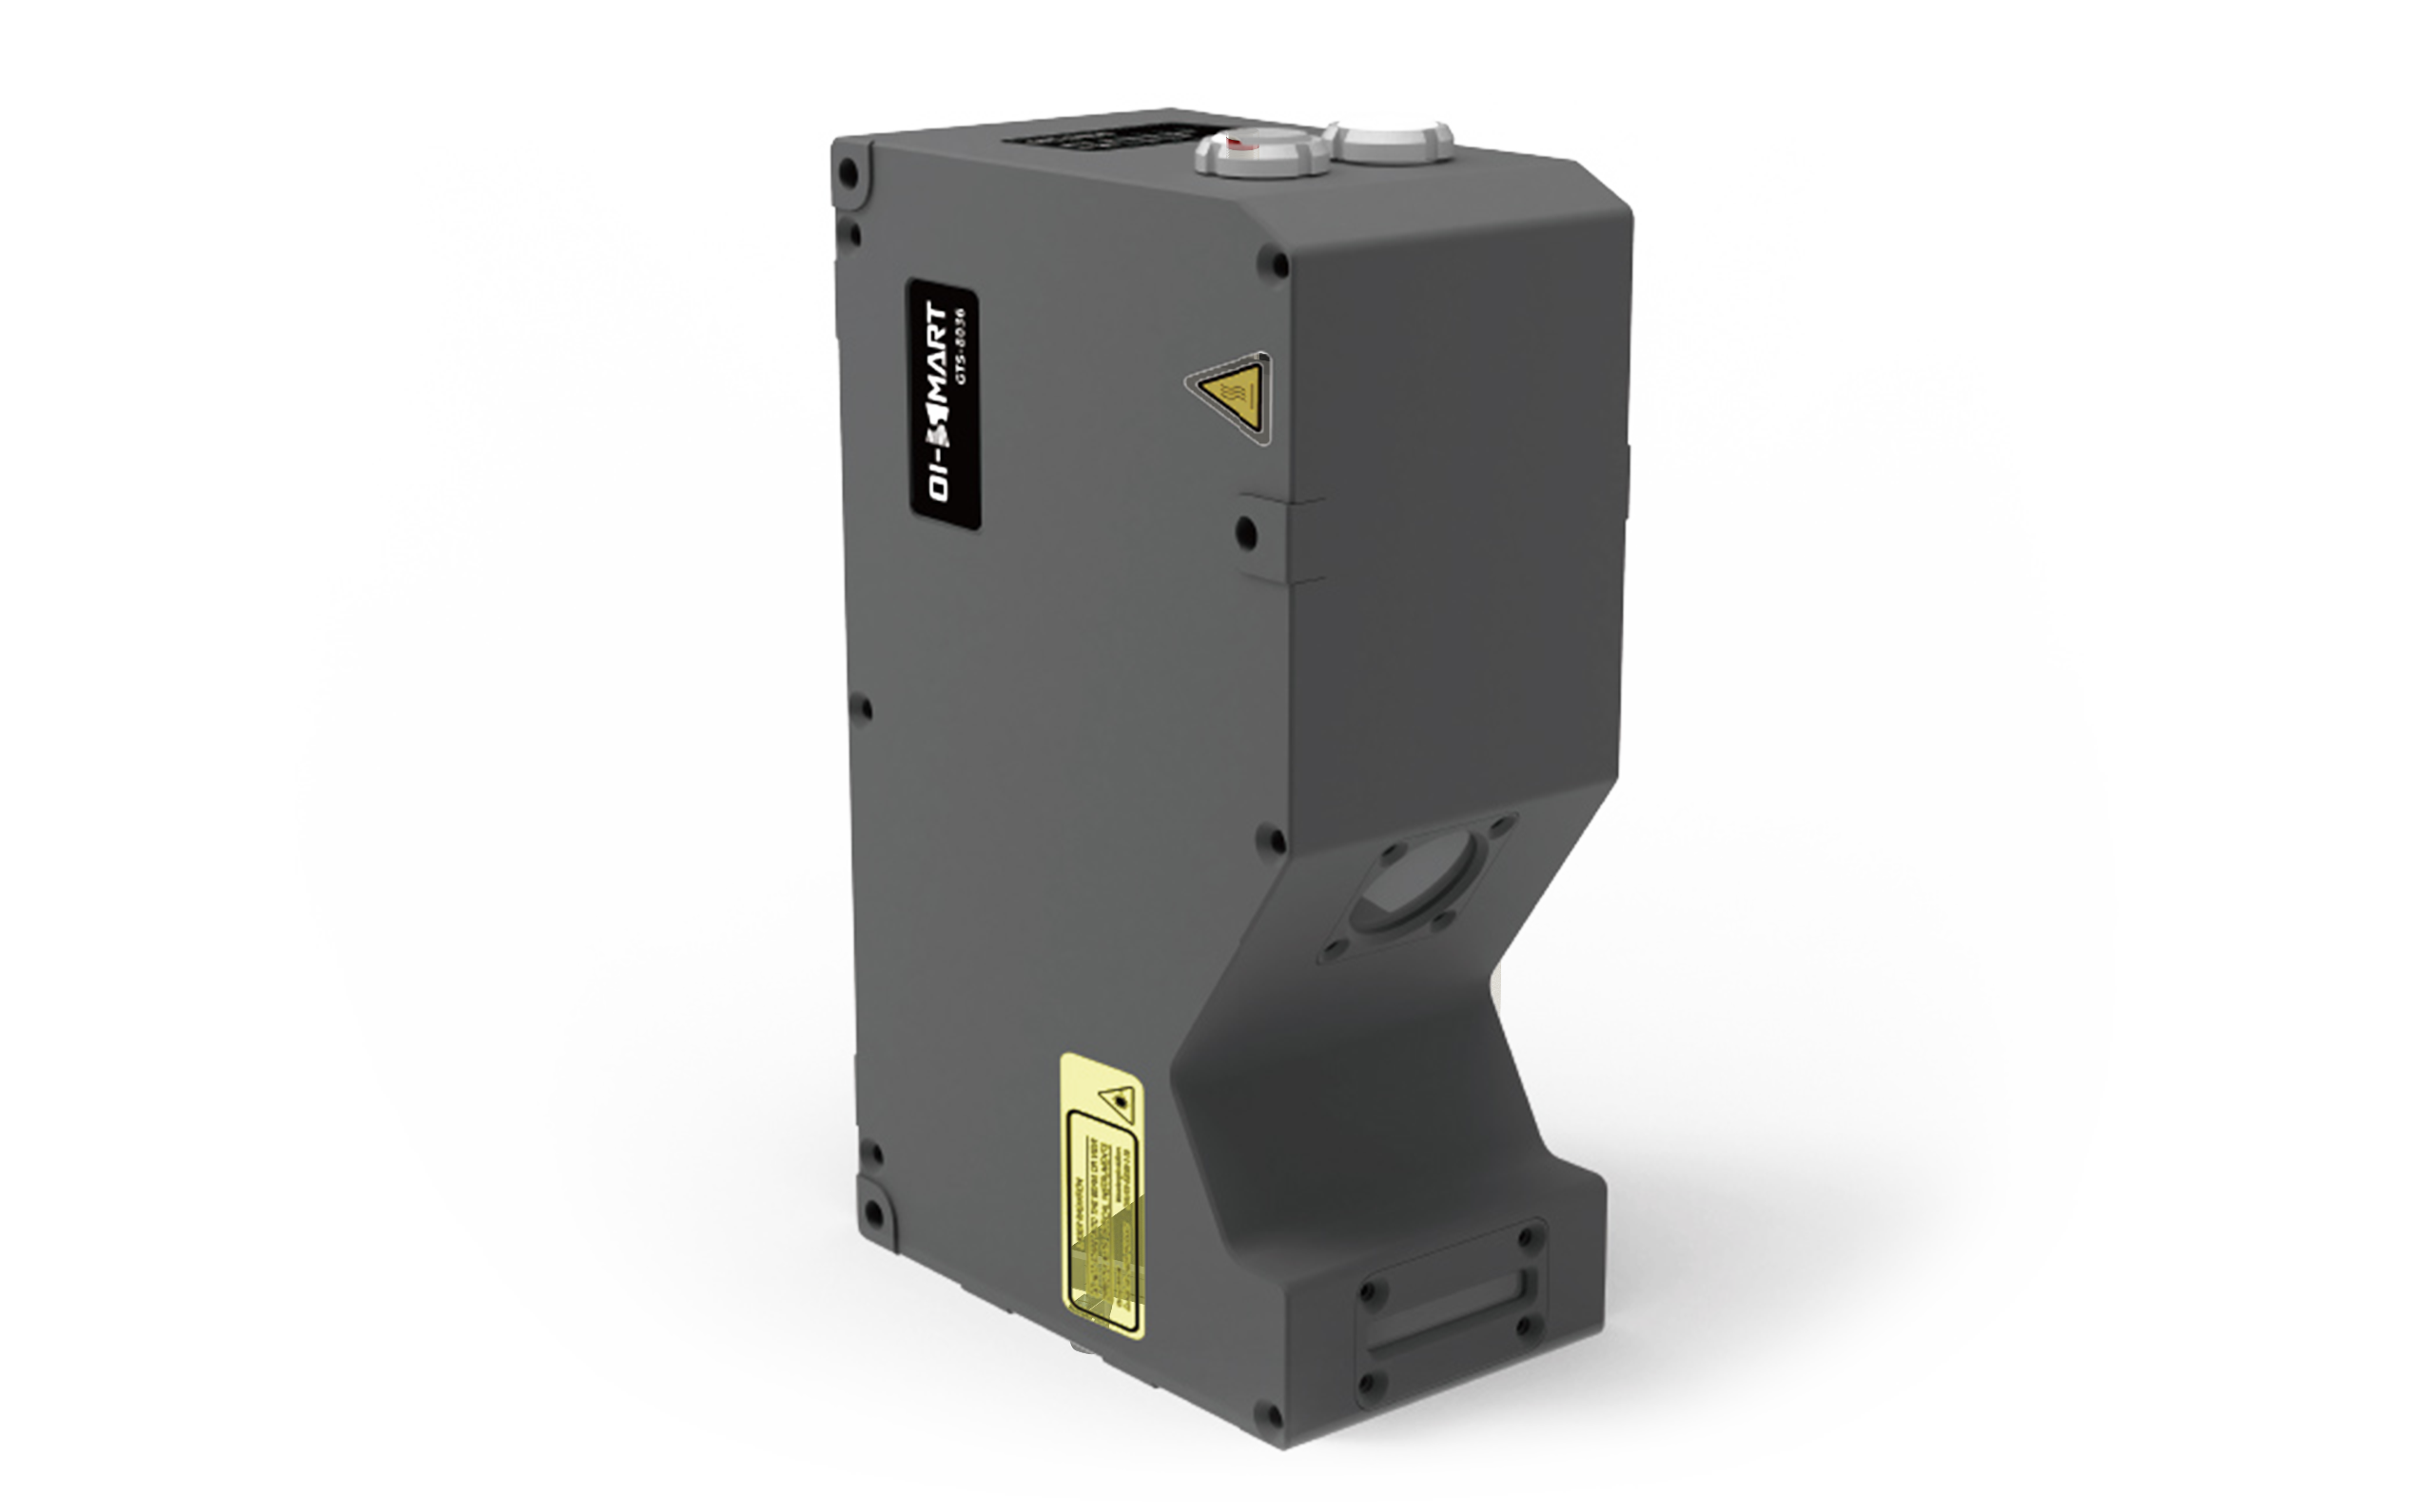
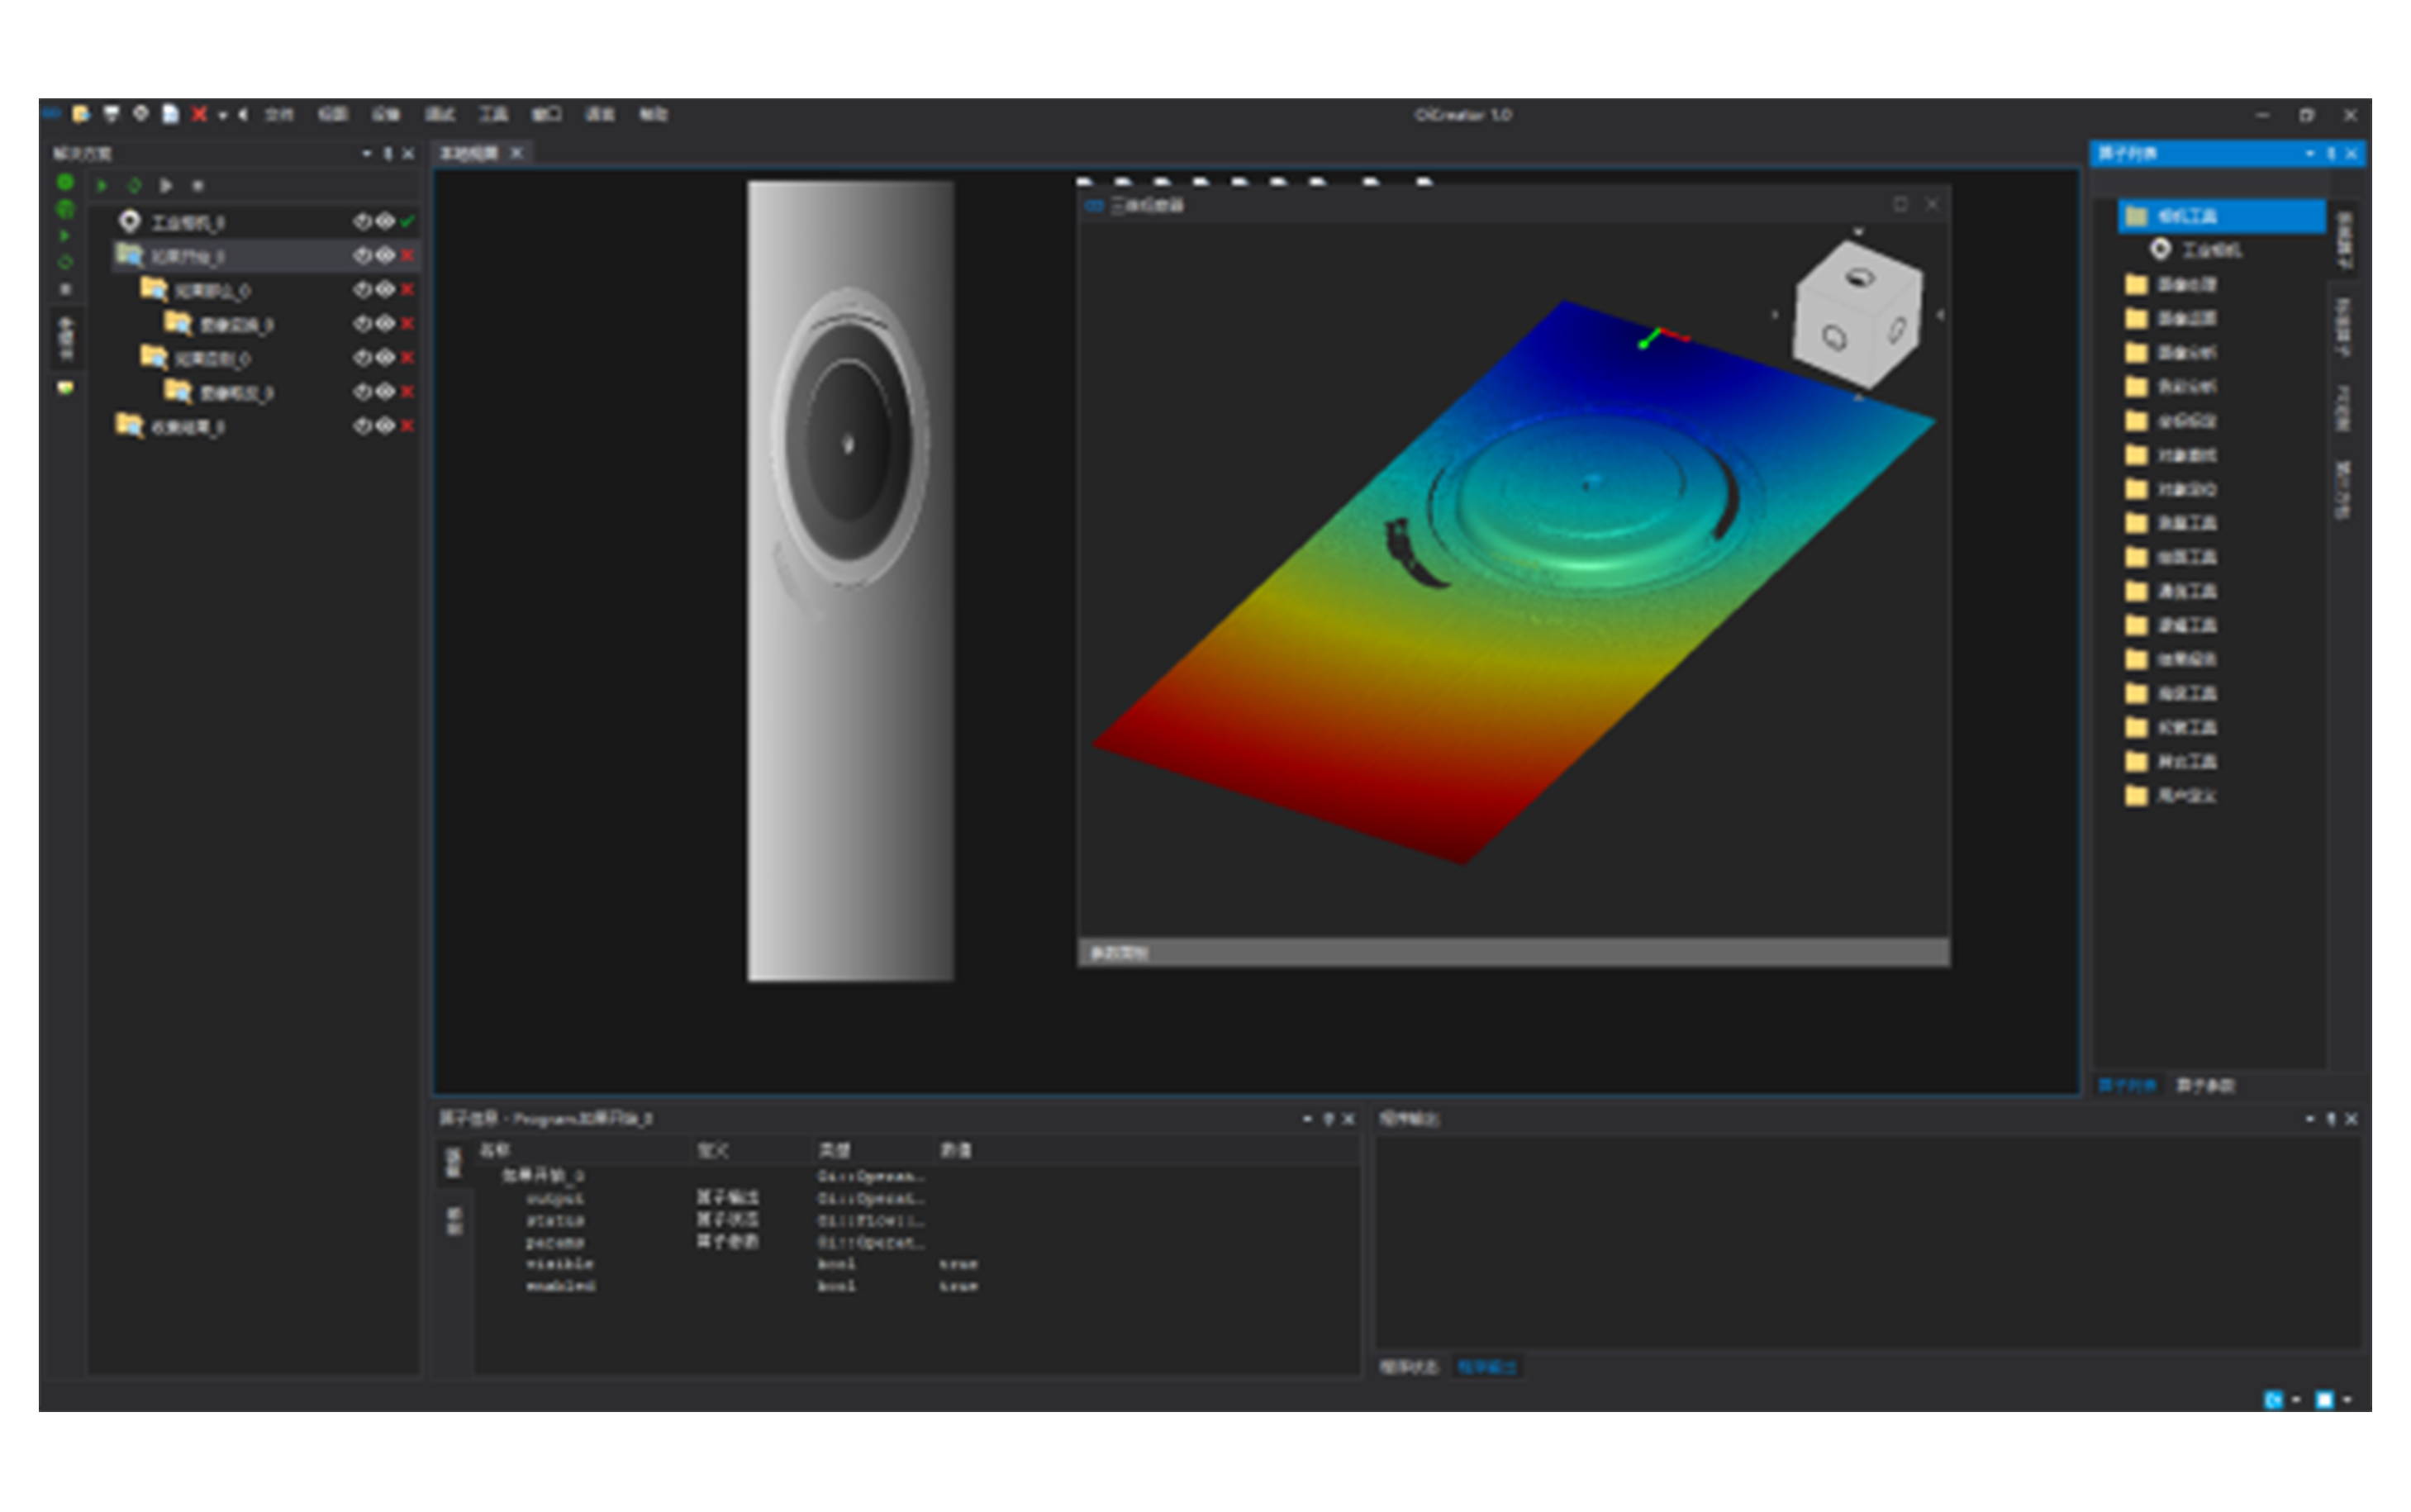
Applying 3D laser scanning technology in the mobile manufacturing process can overcome the limitations of 2D visual inspections, which fail to capture Z-axis height information. This allows for precise three-dimensional measurements of various components that make up a mobile phone, obtaining critical dimensions, flatness, height differences, thickness of structural components, and information on missing parts. This helps businesses promptly grasp process data, prevent the influx of defective products into subsequent stations causing quality issues, and support efficient production through high-efficiency inspection.




 WhatsApp
 Follow Us